
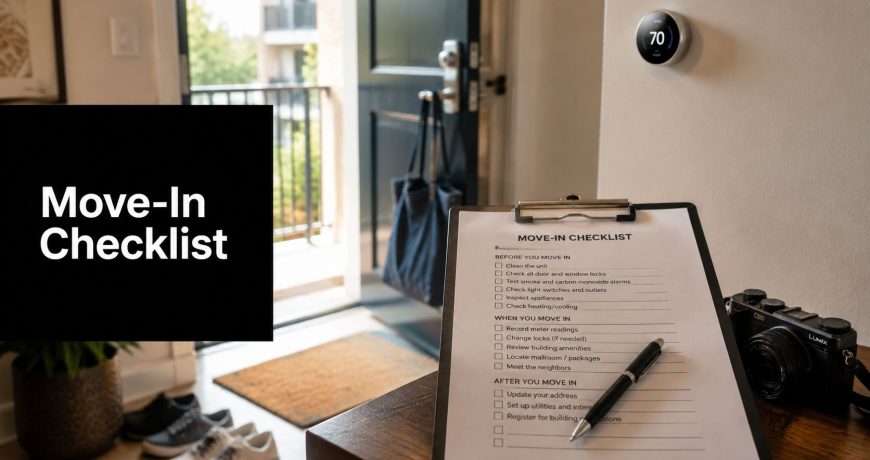
Apartment Move in Inspection Checklist: 8 Key Checks
You've carried the first boxes through the apartment, placed the sofa against the wall, and only then noticed the long scrape in the paint or the water mark beneath a window. By that point, furniture has hidden the evidence and the move is already demanding your attention. A reliable apartment move-in inspection checklist prevents that problem by turning the handover into an evidence trail, not a rushed visual tour.
Inspect the apartment before delivery begins. Work through every room, test fixtures safely, record meter readings, and capture dated photos that show both the full area and close-up defects. In Victoria, the condition report is a legally important record of the property's starting condition. The rental provider must provide two signed copies before occupation, and the renter must return one copy within 5 business days of moving in, as set out in Victoria's residential tenancy legislation.
Use the checks below alongside the official report. If you're coordinating a professional move, Get n Go Removals Melbourne can help protect floors, walls and doorways during delivery, but the inspection should happen before belongings conceal anything.
For broader preparation, compare your process with this move-in and move-out cleaning checklist.
1. Walls, Ceilings, and Paint Condition
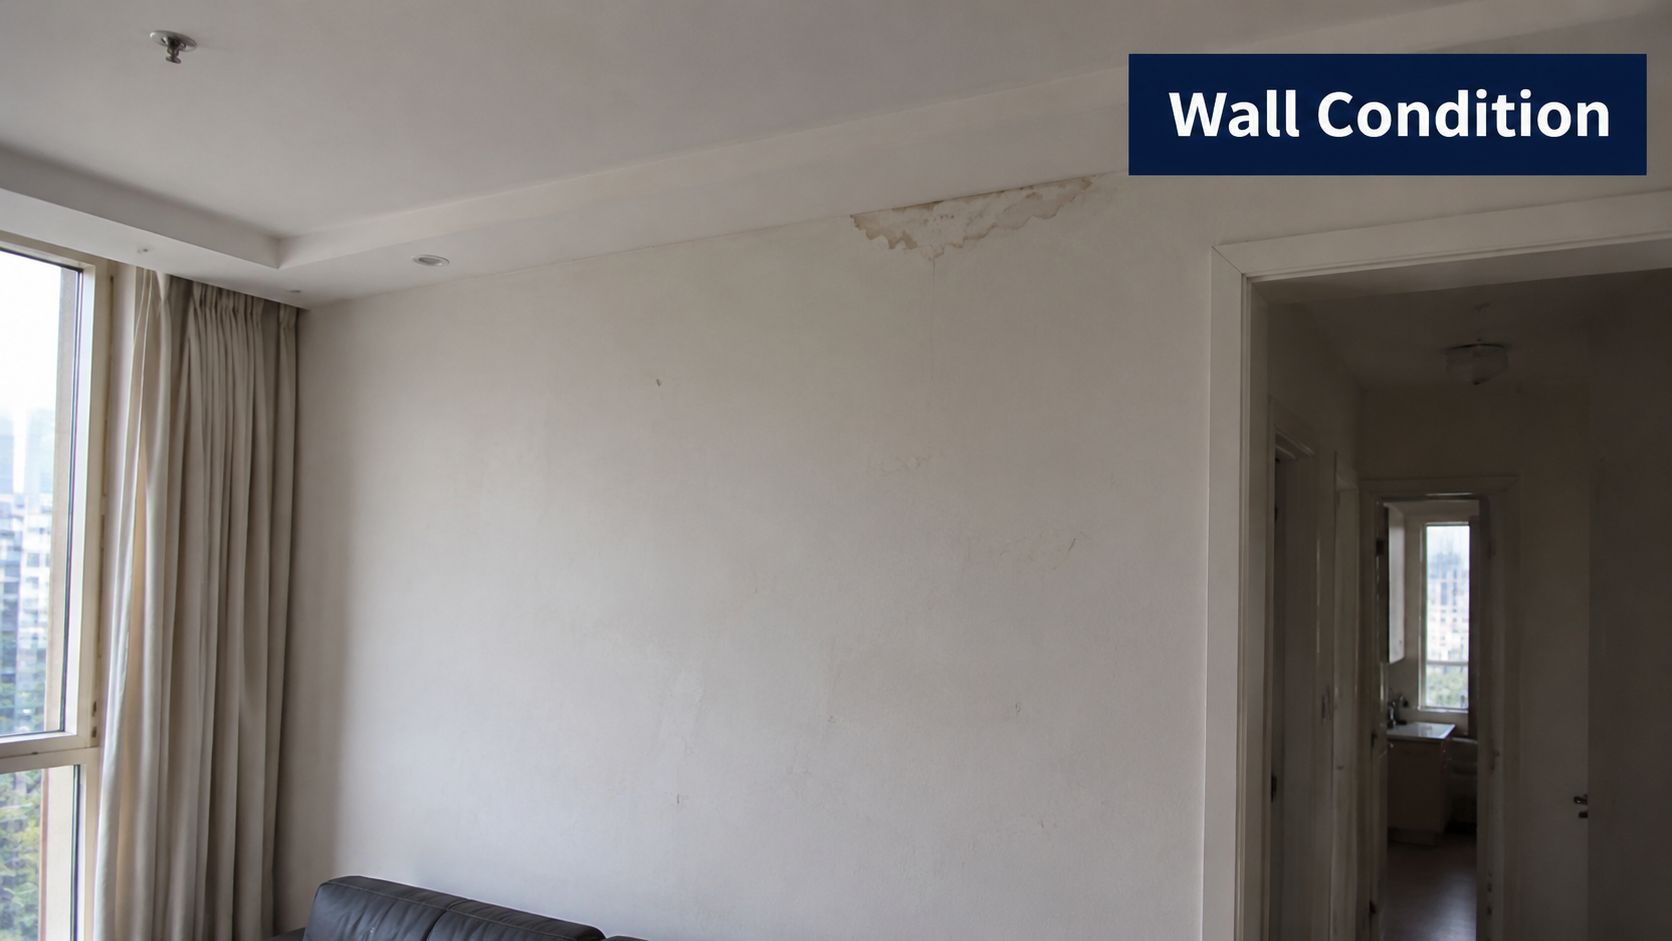
Walls and ceilings can look acceptable during a quick inspection while still carrying evidence of earlier problems. Examine the apartment in daylight, then use a torch at a low angle to reveal fine cracks, dents, scuffs, uneven paint and subtle staining. Pay close attention to corners, high-traffic areas, the space behind doors, and the inside surfaces of cupboards.
Look for water marks, peeling paint, patched holes, nail holes, mould, bubbling paint and fresh touch-up areas. A new patch may be harmless, but it can also conceal an earlier repair or continuing moisture problem. In a bathroom, peeling paint near the ceiling may indicate poor ventilation or recurring dampness. A brown or yellow ceiling stain deserves prompt written attention, particularly if it feels soft or appears to be spreading.
Practical rule: Record the exact location, not just “damaged wall”. Write “small scuff on the living-room wall beside the balcony door” and attach a wide photo plus a close-up.
Open wardrobes, pantries and cupboards before recording the condition. Photograph marks that may disappear in shadow, and keep the original files with their capture information. Add each issue to the condition report rather than relying only on a text message.
The moving house checklist from Get n Go Removals Melbourne can help you schedule this inspection before boxes, furniture and protective coverings arrive. Ask the agent or rental provider to acknowledge pre-existing defects in writing, especially active leaks, damaged plaster or staining that could later be confused with tenant-caused damage.
2. Flooring and Floor Coverings Assessment
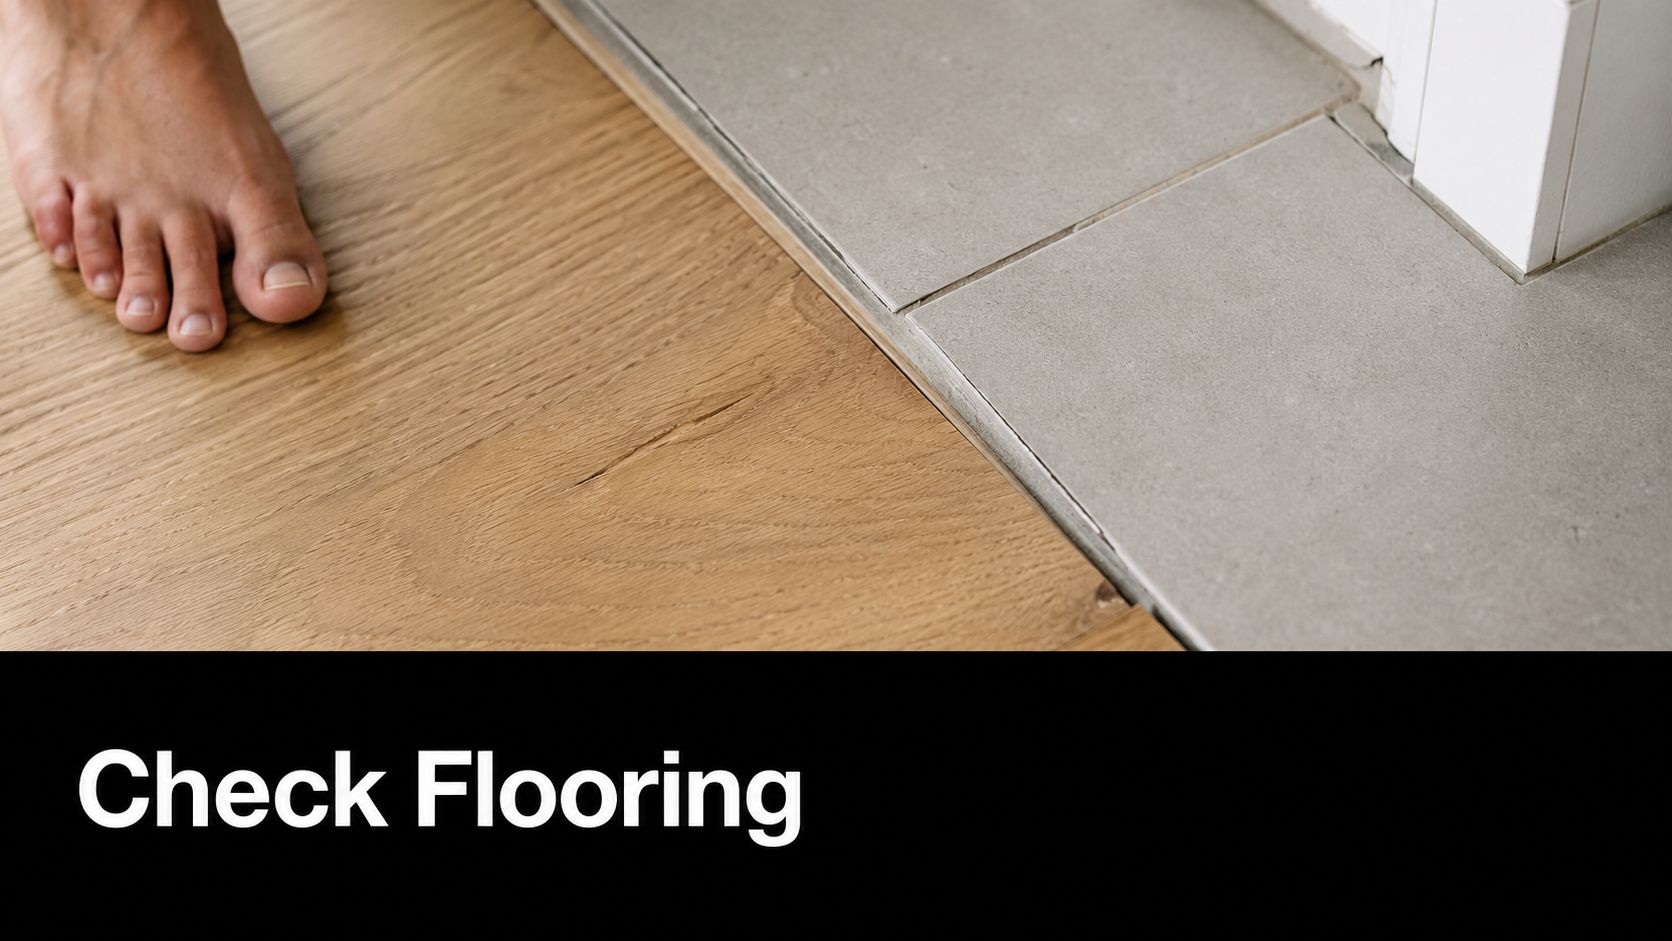
Floor damage is easy to hide beneath a dining table, bed or removal carton, so inspect every surface before delivery. Walk through carpeted rooms, tiled areas, timber, vinyl and laminate flooring in clear light. Look for stains, odours, scratches, dents, worn sections, lifted edges, cracked tiles, bubbling, soft spots and water marks near skirting boards.
Different materials need different evidence. Carpet photos should show the whole room and close-ups of stains or flattened areas. Timber and laminate need attention to scratches, dents, gaps and buckling. Tiles should be checked for cracks, movement and loose grout. In wet areas, inspect corners and baseboards for discolouration or damp smells that may point to an earlier leak.
Walk slowly and notice changes underfoot. A firm step can reveal movement or creaking, while a bare foot may detect an uneven transition that isn't obvious visually. Don't force a tile, board or fitting that appears unstable. Record the location and describe what you observed.
A concise flooring record can include:
- Room and surface: Identify the room and material, such as timber flooring in the hallway.
- Visible condition: Note scratches, stains, chips, dents or lifting with their approximate position.
- Odour or moisture: Describe musty, pet-related or damp smells without guessing at the cause.
- Supporting evidence: Take room-wide images, low-angle shots and close-ups with a reference object for scale.
“A clean floor isn't necessarily an undamaged floor.” Check beneath appliances, along skirting boards and in corners before those areas disappear behind your belongings.
Photograph the transition between materials and any existing floor protection. If carpets were recently cleaned, ask whether a cleaning record is available, but still document stains or odours you can see or detect. Don't wait until the move-out inspection to raise a flooring issue. The initial condition record is your best way to distinguish pre-existing damage from later wear.
3. Doors and Door Hardware Condition
A door that looks fine may still fail to latch, lock or close squarely. Test the entry door, bedroom and bathroom doors, wardrobes, cupboards, storage doors and balcony doors. Operate each one more than once, because a lock or hinge can work intermittently and create a misleading first impression.
Check the frame, hinges, handles, cylinders, latches, weather seals and visible hardware. Test every supplied key, fob and access device in the relevant lock. The entry door should close fully and latch without excessive force. A loose handle, damaged frame or lock that only works from one side should be recorded immediately because it affects security, not merely appearance.
Interior doors also matter during a move. Misaligned doors can catch on flooring, swing unexpectedly or prevent access to a room. Look for dents in frames, chipped paint, missing screws and signs that previous furniture movements caused impact damage. Around the entry door, feel for gaps in weatherstripping that may allow drafts or light through.
Use a short operational check:
- Locks and keys: Test locking and opening from the sides available to you, and list missing or ineffective keys.
- Movement: Open and close each door slowly, then at normal speed, noting sticking, scraping or unusual noise.
- Hardware: Check handles, hinges, latches and closers for looseness, rust or damage.
- Images: Photograph the full door, frame and hardware, then capture defects close up.
The apartment moving guide from Get n Go Removals Melbourne is useful when you're planning access, lift bookings and furniture routes. Before movers arrive, identify narrow doorways, fragile frames and doors that need to remain open. Don't remove or adjust hardware yourself during the inspection. Record the problem and ask the agent or rental provider for a repair response.
4. Windows and Window Coverings Inspection
Windows combine security, weather protection, ventilation and privacy, so inspect the glass and the surrounding fittings together. Open and close every window carefully. Test locks, latches and catches, and check whether the frame moves smoothly or requires unusual pressure.
Examine the glass in changing light. Small cracks, chips and scratches can be difficult to see straight on, while condensation or moisture between double-glazed panes can indicate a failed seal. Inspect both sides of accessible glass, the sill, frame, caulking and surrounding paint. Water staining on an internal sill or wall should be photographed and reported rather than dismissed as a cleaning issue.
Existing blinds, curtains, rods and tracks form part of the apartment's starting condition. Operate each covering gently and note broken slats, missing hooks, bent tracks, damaged cords and fittings that pull away from the wall. Avoid repeatedly forcing a mechanism that's jammed. The inspection should identify the problem without creating a new one.
A useful window record includes:
- Window identity: Label the bedroom, living room, kitchen or balcony opening.
- Glass condition: Note chips, cracks, scratches, fogging or moisture between panes.
- Security: Confirm that locks and latches engage properly and that supplied keys work.
- Water and seals: Photograph stains, deteriorated caulking, gaps or damaged weatherstripping.
- Coverings: Describe the condition and operation of blinds, curtains, rods and tracks.
Security deserves priority. A cosmetic mark can wait for a repair plan. A window that won't lock should be reported promptly and kept in the written record.
Use these observations when considering living room curtain tips, particularly if you're deciding whether existing coverings are usable. Photograph the apartment number and any relevant access point separately so your image library remains easy to identify later.
5. Kitchen Appliances and Fixtures Assessment
The kitchen contains several systems that should be tested before boxes occupy the benches. Photograph the oven, cooktop, range hood, dishwasher, refrigerator, sink, taps, cupboards, drawers and benchtops. Record cleanliness and condition separately from function. An appliance can be clean but faulty, or operational but visibly damaged.
Test each cooktop element individually and operate the oven controls. Run the range hood or exhaust fan and listen for abnormal noise. If a dishwasher is included, check its controls and cycle operation without leaving it unattended. Confirm that the refrigerator starts and that its doors, seals, shelves and drawers are intact.
Water checks often reveal problems hidden beneath the cabinetry. Turn taps on and off, test hot and cold flow, observe drainage and inspect under the sink with a torch. Look for moisture, swollen cabinet panels, staining, loose plumbing connections and old sealant. Open every cupboard and drawer, checking hinges, handles, runners, alignment and internal shelves.
The strongest notes separate an observation from an assumption:
- Function: “Left cooktop element didn't heat during test” is stronger than “cooktop faulty.”
- Condition: “Dark stain on benchtop beside sink remains after cleaning” identifies a pre-existing mark.
- Leak evidence: “Moisture visible on base of cabinet below cold-water connection” gives the agent a location to inspect.
- Inventory: List included appliances and note any missing shelves, trays, knobs or handles.
Watch the short demonstration below for a visual reminder of safe refrigerator handling.
Don't dismantle an appliance or interfere with gas connections. If the apartment includes a refrigerator that must be moved into position, review this guide on how to move a fridge safely before delivery. Photograph the model and visible condition, then ask who handles maintenance for each supplied appliance.
6. Bathroom Fixtures and Water Systems Evaluation
Bathrooms deserve a slow inspection because moisture damage can sit behind apparently clean surfaces. Flush the toilet, operate the cistern and listen for continuous running. Turn on hot and cold taps, check pressure and temperature control, and inspect beneath the basin for drips or dampness.
Run the shower and fill the bath or basin sufficiently to observe drainage. Check whether water pools around the waste, escapes through seals or reaches flooring and cabinetry. Examine tiles, grout and caulking for cracks, gaps, darkening, mould or deterioration. Look behind and around the toilet, under the basin and along the shower edge, where a small leak may leave a larger hidden problem.
Ventilation is part of the water-system check. Turn on the exhaust fan and note whether it operates, rattles or fails to move air. Record ceiling and wall staining with close-up and wide photographs. Don't scrape mould, pull at caulking or disturb a loose tile during the inspection. Those actions can alter the evidence and may create further damage.
Use this order to keep the bathroom check controlled:
- Start dry: Photograph the room, walls, ceiling, tiles, fittings and existing marks.
- Test fixtures: Operate taps, toilet, shower, bath, basin waste and ventilation.
- Inspect after use: Check under plumbing, around the toilet, at shower edges and across the floor.
- Write specific notes: Record slow drainage, low pressure, odours, staining, mould or pooling.
The condition report should capture both cleanliness and physical condition. If you're considering renovating a unit bathroom, keep that separate from the move-in record. A proposed improvement doesn't replace the need to document the bathroom as it exists at handover.
Treat active leaks, exposed electrical risks near water and serious mould concerns as urgent. Notify the rental provider or agent promptly in writing and keep the response with your inspection files.
7. Electrical Systems and Outlet Functionality Check
Electrical checks require care. Test switches, lights and accessible power points using a safe device such as a phone charger or suitable outlet tester. Don't insert anything into a damaged outlet, remove covers or open the switchboard. Visible scorching, exposed wiring, loose fittings or a burning smell should be reported without further testing.
Move through the apartment systematically. Turn on ceiling lights, wall lights and included lamps, then note flickering, delayed activation or switches that operate the wrong fitting. Test power points in bedrooms, living areas, the kitchen and study spaces. Mark each failed point by room and wall position so an electrician can locate it without guesswork.
Find the circuit breaker box and photograph its labels. Check that access isn't blocked and note missing labels or visible damage. Smoke alarms should also be checked and their condition recorded. Victoria's entry condition report includes the date of the last smoke alarm test, along with dates for the electrical and gas safety checks and, where relevant, pool-barrier compliance. The Victorian report requirements are explained in Tenants Victoria's condition report guidance.
A practical electrical note might read:
- Living room: Power point beside the television didn't operate with a charger.
- Bathroom: Light works, exhaust fan doesn't activate.
- Bedroom: Switch plate is loose and needs attention.
- Safety record: Smoke alarm location and visible condition recorded, last test date requested.
Never trade certainty for speed around electricity. A failed test is information. A damaged fitting is a reason to stop and report, not a reason to investigate internally.
Photograph non-working or damaged components in context, then attach the images to your written report. The new house checklist from Get n Go Removals Melbourne can help you keep utility, access and moving tasks together, but safety defects still need direct attention from the rental provider and an appropriately qualified professional.
8. Storage Space and Cupboard Capacity Documentation
Storage problems often appear only after belongings arrive. Before the apartment is occupied, inspect built-in robes, linen cupboards, pantry shelving, under-stair storage, laundry cabinets and any allocated storage cage. Open and close every door, test latches, check runners and look inside each compartment.
Examine shelves for sagging, loose supports, water stains, mould, dust, odours and damaged edges. Check hanging rails and hooks for secure attachment, but do not place heavy items on them during the inspection. Photograph each interior, including corners, shelves and fittings. A photograph of a closed cupboard cannot establish the condition of its internal surfaces or hardware.
Storage also affects furniture placement and packing. Measure awkward cupboards, record shelf positions and note included organisers, baskets and rails. Compare any storage cage or built-in arrangement described in the rental listing with what is supplied. Record discrepancies before belongings conceal the area.
Use an evidence trail for every storage space:
- Location: Name the room, cupboard or allocated area.
- Fittings: List shelves, rails, hooks, drawers and organisers.
- Condition: Record damage, instability, dirt, odour, moisture and missing hardware.
- Dimensions: Measure depth, width and height where furniture placement depends on them.
- Access: Confirm that doors open fully and the space remains reachable without obstruction.
- Record: Add identifying photos and include the item in the condition report for both parties to review and sign.
A damaged wardrobe rail can affect safety and packing decisions. Report it before clothing and boxes cover the floor, walls or fittings. For items that cannot fit inside the apartment, review storage unit options and pricing considerations. Follow up unresolved storage defects in writing, and retain the photos, notes and signed report with your move records.
8-Point Apartment Move-In Inspection Comparison
| Inspection Area | 🔄 Implementation Complexity | ⚡ Resource Requirements | ⭐ Expected Outcomes | 📊 Ideal Use Cases | 💡 Key Advantages |
|---|---|---|---|---|---|
| Walls, Ceilings, and Paint Condition | Medium, systematic visual walkthrough, daylight checks, ceilings inspection | Camera/phone, flashlight, ladder, timestamped photos, 30–60 min | ⭐⭐⭐⭐⭐, clear baseline for damage and deposit protection | Move‑in/out condition report; deposit dispute prevention | Protects security deposit; documents pre‑existing damage; enables early repairs |
| Flooring and Floor Coverings Assessment | Medium, type‑specific checks (carpet, timber, tile) and level tests | Barefoot checks, flashlight, camera, ~30–60 min; pro inspection if structural concerns | ⭐⭐⭐⭐⭐, identifies wear, safety hazards, and liability areas | Flooring condition disputes; safety checks prior to heavy furniture moves | Prevents disputes; identifies loose tiles/structural issues; informs protection needs |
| Doors and Door Hardware Condition | Low–Medium, operation and lock testing, alignment checks | Keys, camera, level/square, quick functional tests | ⭐⭐⭐⭐, documents security/functionality and key accountability | Security verification; access and energy‑seal checks | Ensures locks/keys work; identifies security risks and draft sources |
| Windows and Window Coverings Inspection | Medium, operation, seals, condensation and locking checks | Camera, daylight views, ladder for high sills, moisture/condensation checks | ⭐⭐⭐⭐, documents security and insulation issues | Energy efficiency assessment; security and water‑ingress checks | Reveals seal failures/drafts; protects against water damage responsibility |
| Kitchen Appliances and Fixtures Assessment | Medium, functional tests for appliances and plumbing | Time to run appliance cycles, camera, basic tools, possible electrician/plumber | ⭐⭐⭐⭐⭐, establishes operational baseline and safety status | Determining landlord vs tenant appliance responsibility; safety checks | Documents functionality; prevents charges for pre‑existing faults; identifies hazards |
| Bathroom Fixtures and Water Systems Evaluation | Medium–High, plumbing, drainage, ventilation and mold checks | Flashlight, camera, duration tests (flush/fill), moisture detector, plumber if needed | ⭐⭐⭐⭐⭐, identifies health/safety risks (mold, leaks) and habitability issues | Habitability verification; mold/water damage detection before move‑in | Detects mold/leaks early; ensures fixtures and ventilation are safe |
| Electrical Systems and Outlet Functionality Check | High, comprehensive testing of outlets, breakers, detectors | Outlet tester/multimeter, ladder, smoke/CO detector checks, electrician for faults | ⭐⭐⭐⭐⭐, identifies safety hazards and non‑functional circuits | Pre‑occupancy safety checks; compliance and urgent repairs | Prevents electrical/fire hazards; documents non‑functional devices |
| Storage Space and Cupboard Capacity Documentation | Low, open, measure, and test shelves and doors | Tape measure, camera, light, quick functional checks | ⭐⭐⭐, verifies capacity and condition for move planning | Move planning; verifying advertised storage vs reality | Aids furniture/packing planning; prevents disputes over pre‑existing damage |
Turn Inspection Notes Into Protection
The eight checks only protect you when you complete the evidence trail. Record electricity, gas and water meter readings wherever they're accessible, and photograph each display clearly. Include the apartment number in a separate photo or in the same sequence as the meter images so you can identify the location later.
Complete every relevant line of the Victorian condition report. Don't leave an item blank because it appears ordinary. If the form uses fields such as Clean, Undamaged and Working, select the appropriate assessment and add a location-specific comment where the condition isn't clear. Victorian operational guidance treats objective grading, comments and supporting photos as important evidence, and the completed report can carry significant weight in a later dispute. The Victorian operational guidance for condition reporting explains this evidence-focused approach.
Victoria's official condition report is more than a room-by-room housekeeping list. It records the property's condition at the beginning of the rental agreement and includes compliance milestones such as the last smoke alarm test, electrical safety check, gas safety check and, where relevant, pool-barrier compliance. The official template has applied to properties rented out from 29 March 2021, according to Consumer Affairs Victoria's condition report template.
Use a consistent file system. Keep the signed report, original photographs, videos, meter images, emails and repair responses together. When adding a photo, write the room, defect, date and direction of view in your notes. A wide image establishes context, while a close-up shows the actual defect. Neither replaces the other.
Have the tenant and the landlord or agent sign the report where required, then retain copies. In Victoria, the rental provider must give two signed copies before occupation, and the renter must return one copy within 5 business days after moving in. The renter's time-sensitive obligation is summarised in Consumer Affairs Victoria's renters guide.
Email unresolved defects immediately after the inspection. Ask for a written repair date, not only a verbal promise, and distinguish urgent issues from cosmetic work:
- Urgent safety or habitability problems: Active leaks, insecure locks, exposed wiring, unsafe electrical fittings, serious water damage or non-functioning essential systems should be reported promptly.
- Repair priorities: State what needs attention, where it is, why it matters and what access the tradesperson will need.
- Cosmetic defects: Scuffs, old nail holes and minor paint marks still belong in the report, but they may be handled through a less urgent repair plan.
- Inaccurate paperwork: Don't sign a report that says an item is clean, undamaged or working when your evidence shows otherwise. Add a written correction and send it by email.
Consumer Affairs Victoria advises renters to photograph fixtures and fittings and document pre-existing damage because the report provides the baseline for comparing move-in and move-out condition. The official condition report form supports that record. Keep the evidence until the tenancy ends, including after repairs, because a repaired defect may still need to be distinguished from later damage.
On move day, perform a final sweep before the first large item enters. Recheck behind doors, under sinks, inside cupboards, around appliances and along exposed skirting boards. Use floor coverings, corner protection and other suitable protective equipment when coordinating a professional move, particularly through shared corridors, lift entries and narrow doorways.
Get n Go Removals Melbourne provides apartment and house moves, packing and unpacking, furniture disassembly and reassembly, and short- or long-term storage across Victoria and interstate. If you want your inspection completed before delivery and your floors, walls and belongings protected during the move, visit Get n Go Removals Melbourne to discuss your relocation.