
How to Pack for Moving House: An Expert Guide
Packing for a move can feel overwhelming, but the secret to a smooth transition lies in a methodical approach. It's not about frantically throwing things into boxes at the last minute. A successful move starts weeks in advance with a clear strategy: declutter with purpose, gather the right supplies, and pack room by room. This structured process transforms a potentially chaotic experience into a controlled, stress-free relocation.
Build a Solid Moving Plan Before You Pack a Single Box
The foundation of a stress-free move isn’t the packing itself, but the meticulous planning that precedes it. Rushing this initial stage is the primary cause of moving day chaos. A well-structured plan is your blueprint for saving time, money, and your sanity, ensuring you're not just moving belongings, but moving with intelligence and control.
Think of it this way: this foundational step ensures you aren’t just moving your belongings; you're moving with intelligence and control. It’s all about making deliberate choices long before the first box is even assembled.
Start With a Ruthless Decluttering Audit
Before you even think about boxes, conduct a thorough room-by-room audit. The objective is simple: don't pay to move items you no longer need, want, or use. It’s a fact that moving less stuff is always cheaper and easier.
Walk through each room with three categories in mind: keep, donate/sell, and toss. Be brutally honest. If you haven't used an item in over a year, it’s a prime candidate for a new home that isn't yours. This single step can dramatically reduce the volume of items you need to pack, move, and unpack.
A classic mistake is packing everything up with the promise to sort it all out at the new place. Let’s be real, this rarely happens. You just end up shifting clutter from one house to another, which makes the unpacking process a total nightmare.
This infographic breaks down the essential pre-packing workflow, from decluttering to inventory.
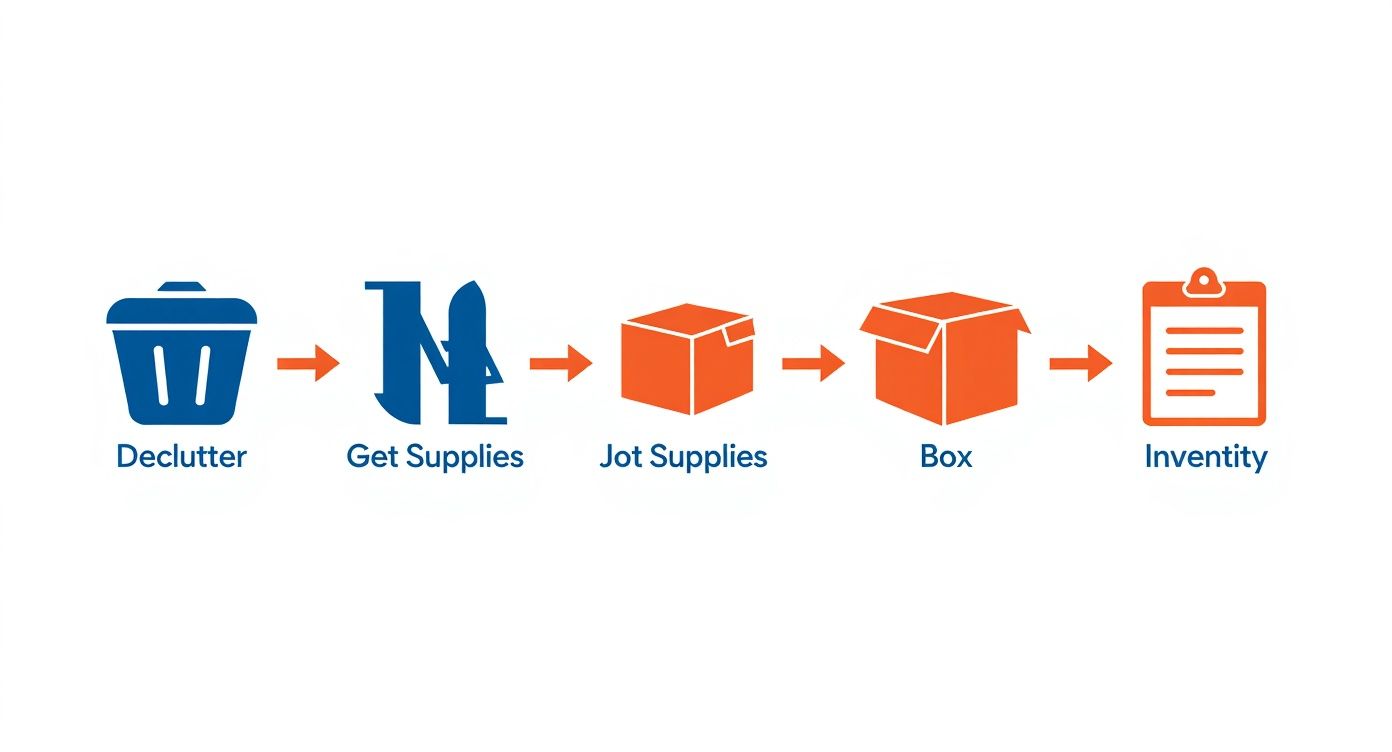
Seeing it laid out like this makes it clear that decluttering is the non-negotiable first action. Get it done, and every other stage becomes simpler.
Before diving into the nitty-gritty of packing, it helps to have a clear timeline. The table below outlines the key tasks to tackle in the weeks leading up to your move, ensuring nothing gets missed.
Your Pre-Packing Action Plan
| Timeframe | Key Task | Why It's Important |
|---|---|---|
| 4-6 Weeks Out | Conduct a full decluttering audit. | Reduces the volume of items to pack, move, and unpack, saving time and money. |
| 3-4 Weeks Out | Create a basic home inventory. | Essential for insurance claims and helps you keep track of valuables during the move. |
| 2-3 Weeks Out | Source all your packing materials. | Having everything on hand prevents last-minute scrambles and ensures you have the right supplies for fragile items. |
| 1-2 Weeks Out | Begin packing non-essential items. | Gets a head start on the process, reducing stress and workload closer to moving day. |
This plan isn't about creating more work; it's about spreading the tasks out so you're not left with an overwhelming list the night before the movers arrive. A little bit of organisation now pays off big time later.
Create a Simple Home Inventory
Once you've decided what's making the trip, creating a home inventory is a crucial next step. This doesn't have to be a monumental task. A simple spreadsheet or a dedicated notebook works perfectly.
List your valuable or significant items and make a quick note of their condition. For big-ticket items like electronics or antique furniture, snapping a few photos is a brilliant move. This inventory is invaluable for two key reasons:
- Insurance Purposes: It provides a clear record of your belongings in case anything is damaged in transit.
- Organisation: It helps you track what's been packed and ensures nothing important gets left behind.
It’s no secret that many Australians are on the move for some pretty big reasons. Recent insights show that over 28% of Australians are thinking about relocating in the next year. The main drivers? Upgrading to a better home (35.5%) and finding somewhere more affordable (31.3%). When you’re making such a significant life change, knowing exactly what you own is critical.
Source Your Packing Materials Smartly
With a clear idea of what you're actually moving, you can now gather your supplies without overspending. Remember, you'll need more than just a stack of boxes.
- Boxes: Get a variety of sizes. You can often find decent second-hand boxes from local community groups or retailers. However, we always recommend investing in a few new, heavy-duty boxes for fragile or heavy items like books.
- Packing Tape: Don't skimp here. Cheap tape that doesn't stick is beyond frustrating. Buy quality tape to ensure your boxes stay securely sealed.
- Cushioning: Bubble wrap, packing paper, and even old towels, blankets, and linens are perfect for protecting your fragile goods.
- Markers: A couple of quality permanent markers are absolutely non-negotiable for clear labelling.
Planning these initial steps methodically really does set the stage for a successful move. To make your relocation even smoother, you can explore some more essential moving house packing tips for a truly seamless move.
Gathering Your Packing Arsenal: The Right Tools for the Job
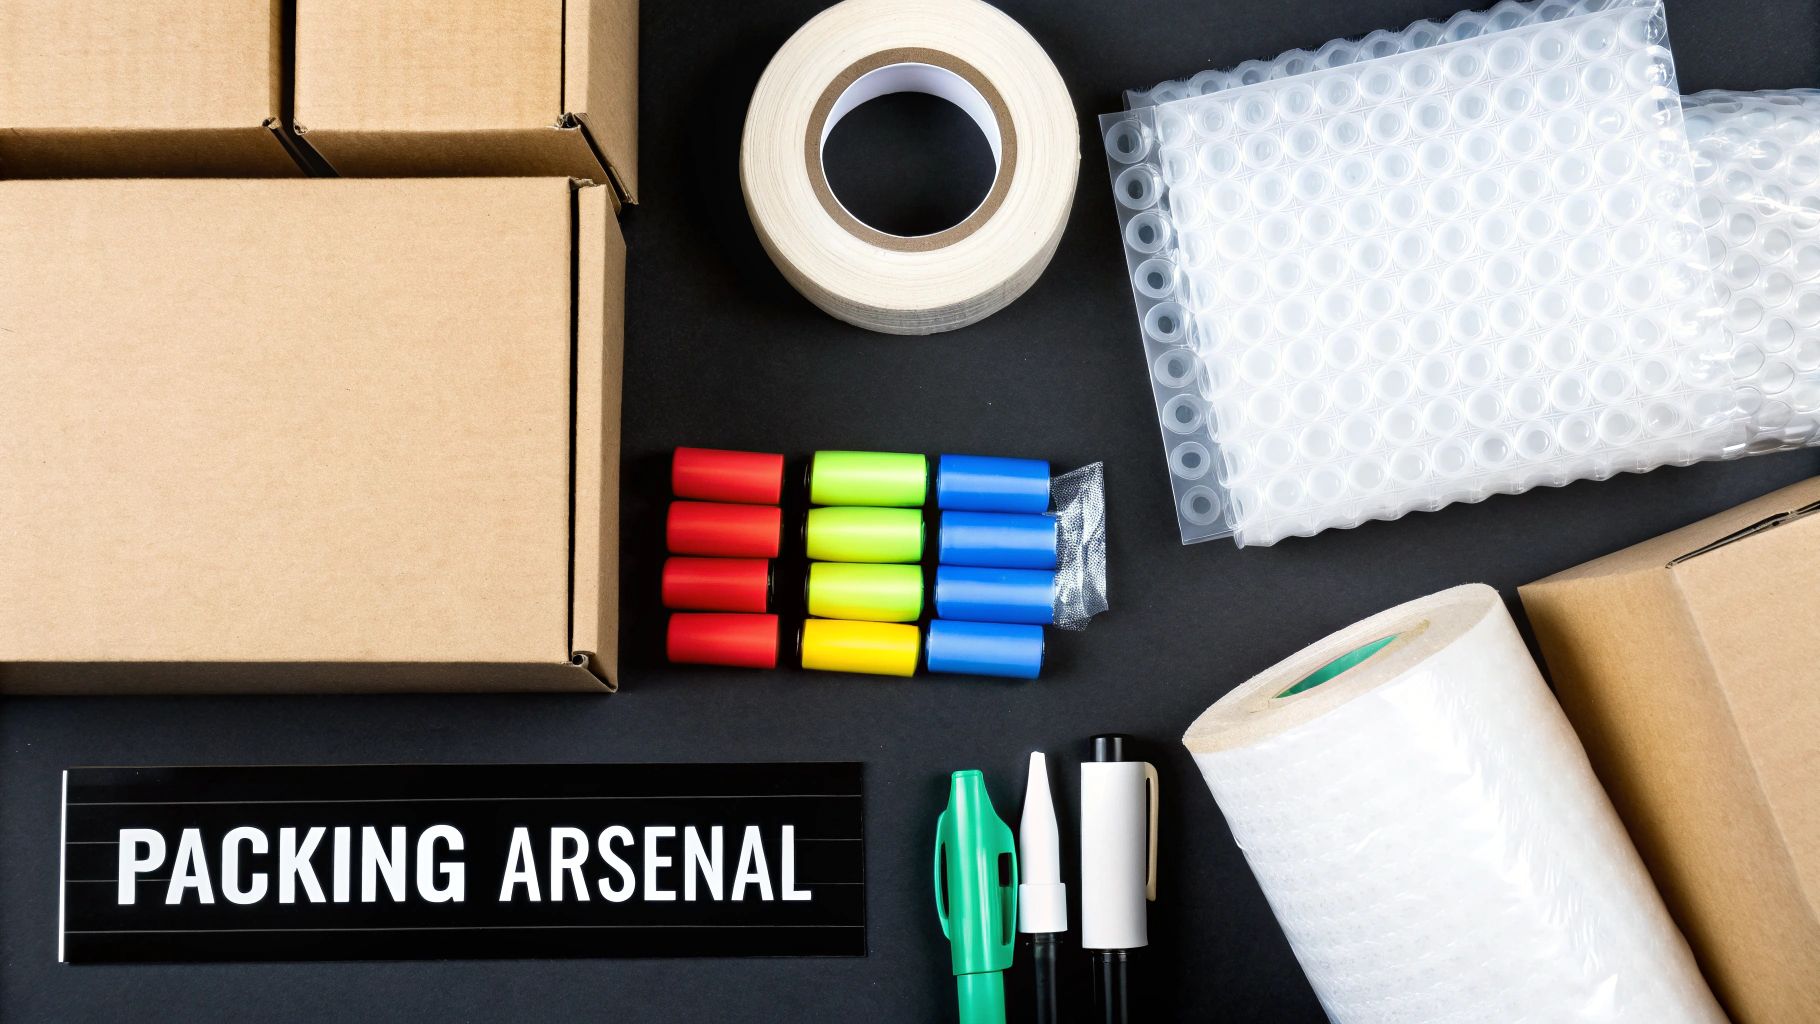
Trying to pack your life into flimsy, mismatched boxes is a recipe for disaster. Having the right tools on hand not only protects your belongings but also streamlines the entire process. Building your packing arsenal with quality materials is a critical step that sets the stage for a damage-free move.
Think of it like cooking a great meal; you need the right ingredients. For moving, your key ingredients are sturdy boxes, quality tape, and proper cushioning. Skimping here often leads to broken valuables and significant frustration on moving day.
Choosing the Right Boxes for the Job
Not all boxes are created equal, and using the right type for the right items is a game-changer. A common mistake is packing heavy items like books into a massive box. This creates an unliftable, back-breaking container that’s prone to collapsing.
Here’s a quick rundown of the essential box types you'll need:
- Standard Medium Boxes: These are your workhorses, perfect for the bulk of your household items—think kitchenware, toys, small appliances, and folded clothes. Their size keeps them from becoming too heavy.
- Book Boxes (Small Heavy-Duty): These are non-negotiable for books, photo albums, canned goods, or tools. Their small, sturdy design forces you to keep the weight manageable.
- Large Boxes: Use these only for light but bulky items, such as pillows, quilts, linens, and plastic toys. Filling one of these with heavy items is a mistake you'll regret.
- Wardrobe Boxes: These tall boxes with a built-in hanging rail are lifesavers. They allow you to transfer clothes straight from your closet without folding, saving you from ironing at your new home.
Beyond the Box: Essential Packing Supplies
Once you have your boxes sorted, the next step is gathering materials to keep everything inside safe and secure. These supplies are just as important as the boxes themselves.
And please, don’t underestimate the power of good packing tape. A cheap, flimsy roll that constantly splits or won't stick properly will drive you mad. Invest in quality packing tape and a dispenser—it will make sealing dozens of boxes so much faster and more secure.
Investing in quality packing materials isn't an expense; it's insurance for your belongings. A few extra dollars on sturdy boxes and proper bubble wrap can save you hundreds in replacing a broken television or shattered family heirlooms.
Sourcing Your Supplies Without Breaking the Budget
Gathering all these materials doesn't have to cost a fortune. With some forward planning, you can significantly reduce your spending on packing supplies.
Where to Find Free or Cheap Supplies:
- Check local community groups and online marketplaces. People are often keen to give away their moving boxes after unpacking.
- Ask friends or family who have recently moved if they have any leftovers.
- Some local businesses may give away used stock boxes if you ask politely.
However, some items are always worth paying for. Always buy new, high-quality tape and bubble wrap. For specialty items, knowing how to pack fragile items for moving is critical, and that often requires specific supplies like cell dividers for glassware. While using towels and blankets for padding is a smart way to save money, they don't offer the same targeted protection as bubble wrap for your most delicate possessions. A good toolkit should be a smart mix of saved and store-bought items.
A Strategic Room-by-Room Packing Method
The secret to a sane move is to stop viewing your house as one massive, unconquerable mountain of possessions. Instead, think of it as a series of small, manageable hills. Tackling your home one room at a time is the only way to keep chaos at bay and maintain your sanity.
This approach prevents you from feeling overwhelmed and ensures similar items stay together, which makes unpacking significantly easier. The golden rule is to start with the rooms you use least and work your way towards daily hubs like the kitchen and your bedroom.
Start with the Least-Used Spaces
Your packing journey should begin in the rooms you can live without for a few weeks. This includes the guest bedroom, formal dining room, study, or storage areas like the garage or attic.
Clearing these areas first is not just practical; it's a huge psychological victory. It creates a sense of accomplishment and gives you space to organise other packed boxes. In these rooms, you can be ruthless and pack up everything that isn't large furniture.
Actionable Tips for Low-Traffic Rooms:
- Books and Media: Pack books flat inside small, heavy-duty boxes to keep the weight under 15 kg. Alternate the spine direction to prevent damage.
- Decorative Items: Wrap each piece of decor individually in packing paper or bubble wrap. Place them in a box with plenty of soft cushioning to fill any gaps.
- Linens and Textiles: Guest bedding, extra towels, and curtains are perfect for filling large boxes or can be used as free padding for more fragile items.
Conquering the Kitchen Chaos
The kitchen is often the most dreaded room to pack, filled with fragile plates, heavy appliances, and countless oddly-shaped utensils. The key is to leave absolute essentials until the last few days but begin packing everything else about two weeks before moving day.
Start with items you rarely use, like that fondue set, fancy china, or seasonal platters. This slow-and-steady approach makes the final kitchen pack-down feel much less frantic.
Here’s a pro mover’s secret: pack your dishes vertically, like records in a crate. They are far less likely to shatter when placed on their edge because this position distributes pressure and absorbs bumps much more effectively during the drive.
When it comes to glassware and plates, you can't overdo the cushioning. Wrap each item individually in packing paper, then bundle a few wrapped items together. Make sure to stuff every gap in the box with crumpled paper so nothing can shift.
Packing Bedrooms and Living Areas
As moving day approaches, turn your attention to the bedrooms and main living areas. To avoid disrupting your daily life, work in small sections. Tackle one closet, then one set of drawers. This keeps your living space functional for as long as possible.
Wardrobe boxes are a game-changer for clothes, allowing you to move hanging items straight from your closet to the box without folding. For drawers, you can often leave lightweight clothes inside and simply secure the drawers shut.
When it's time for electronics like TVs and sound systems, the original packaging is always your best bet. If you no longer have it, wrap the item securely in bubble wrap, paying extra attention to corners and screens. Before unplugging anything, take a quick photo of the cable connections—your future self will thank you.
Special Considerations for Families
Moving with a family presents unique challenges, especially when relocating to a new region. This is a growing trend, with data showing families increasingly moving to areas like Regional Queensland, which has an inbound-to-outbound family move ratio of 2.48. These moves often involve larger houses and more belongings. You can dive deeper into these trends in the full family relocation report.
This means your packing plan must account for more than the usual household goods.
Family Packing Checklist:
- Toys and Games: Involve your children by letting them pack a special box of their favourite toys to keep with them during the move. Pack other toys by category (e.g., LEGO, dolls, board games).
- School Supplies: Have a clearly labelled box for current school books, uniforms, and essential supplies to ensure a smooth transition to a new school.
- Outdoor Gear: Clean bicycles, scooters, and garden tools, and remove any small, detachable parts. Place these parts in a labelled bag and tape it securely to the main item.
By breaking down the mammoth task of packing into a methodical, room-by-room process, you turn a stressful ordeal into a structured, manageable project. This strategy doesn't just protect your belongings—it protects your peace of mind, too.
Mastering Your Labelling System and Moving Day Survival Kit
https://www.youtube.com/embed/RqlZOODUg2M
Even the most perfectly packed boxes are useless if you don’t know what’s inside or where they belong. A clear, consistent labelling system is essential for transforming unpacking chaos into a straightforward process. Skipping this step is a classic rookie mistake that leads to hours of frustrating searches for essential items like the kettle.
Think of your labels as the GPS for your move. Without them, your movers (and you!) are just guessing, meaning heavy books could end up in an upstairs bedroom while your bedding gets left in the garage. A little effort here saves an enormous amount of stress and physical work later on.
Choosing Your Labelling Method
There’s no single “right” way to label boxes, but the best systems are simple and easy to understand at a glance. Remember, you’re creating clear instructions for anyone helping you move. The most important thing? Consistency.
A highly effective strategy is the colour-coded system. Assign a specific colour to each room in your new home (e.g., blue for the main bedroom, yellow for the kitchen). Apply a large, coloured sticker or a piece of coloured tape to at least two sides of every box. This visual cue allows movers to instantly identify where each box goes without reading a single word.
Combine this with clear text. On each label, include three key pieces of information:
- Destination Room: The room where the box needs to go (e.g., "Kitchen").
- Brief Content Summary: A quick list of what's inside (e.g., "Pots, Pans, Cutlery Tray").
- Handling Instructions: Any critical notes like “FRAGILE” or “THIS WAY UP” are non-negotiable.
This combination of colour and text is virtually foolproof. It dramatically speeds up the unloading process and ensures you aren't left hunting for essentials on your first night.
One of the biggest time-wasters during unpacking is having to move boxes multiple times. A robust labelling system ensures each box lands in its final destination room on the first try, allowing you to unpack methodically instead of constantly shifting things around.
To take your organisation to the next level, create a master inventory list in a notebook or on your phone. Number each box (e.g., Kitchen Box #1, Kitchen Box #2) and jot down a more detailed list of its contents on your inventory sheet. It might seem like overkill, but if a box goes missing, you'll know exactly what you've lost.
To help you decide on the best approach for your move, here's a quick comparison of a few popular labelling methods.
Effective Box Labelling Systems Compared
| Labelling Method | How It Works | Best For |
|---|---|---|
| Colour-Coding | Assign a colour to each room using stickers or tape. | Large moves with lots of helpers, as it's a quick visual guide for movers. |
| Room & Content | Write the destination room and a brief summary of contents on each box. | Smaller moves or anyone who wants a straightforward, no-fuss system. |
| Numbered Inventory | Number each box and keep a detailed inventory list in a separate notebook or app. | Detailed-oriented people, long-distance moves, or those with valuable items to track. |
No matter which system you choose, the key is to apply it consistently to every single box. It’s the little bit of prep that makes a huge difference on moving day.
Assembling Your Moving Day Survival Kit
Your most important box is your "essentials box," designed to help you survive the first 24 hours in your new home. This box should be the very last thing loaded onto the truck and the first thing brought inside.
It holds everything you'll need immediately upon arrival, saving you from a desperate search for toilet paper or a phone charger after a long, exhausting day. It’s your key to a comfortable and organised first night.
What to Include in Your Essentials Box
- Basic Toiletries: Toilet paper, soap, toothbrushes, and toothpaste.
- Cleaning Supplies: Paper towels, a multipurpose spray, and a rubbish bag or two.
- Simple Toolkit: A screwdriver, box cutter, and hammer will be invaluable.
- Kitchen Basics: Instant coffee or tea bags, a kettle, mugs, a few snacks, and bottled water.
- Electronics: Don't forget your phone chargers and a portable power bank.
- Important Documents: Keep any moving-related paperwork, IDs, and keys in this box for easy access.
Having this kit prepared is a huge part of knowing what you should do the night before your movers arrive. It ensures that once the movers have left, you can immediately start making your new house feel like a home, even if it’s just with a hot cup of coffee.
Packing Smart for Long Distance and Regional Moves
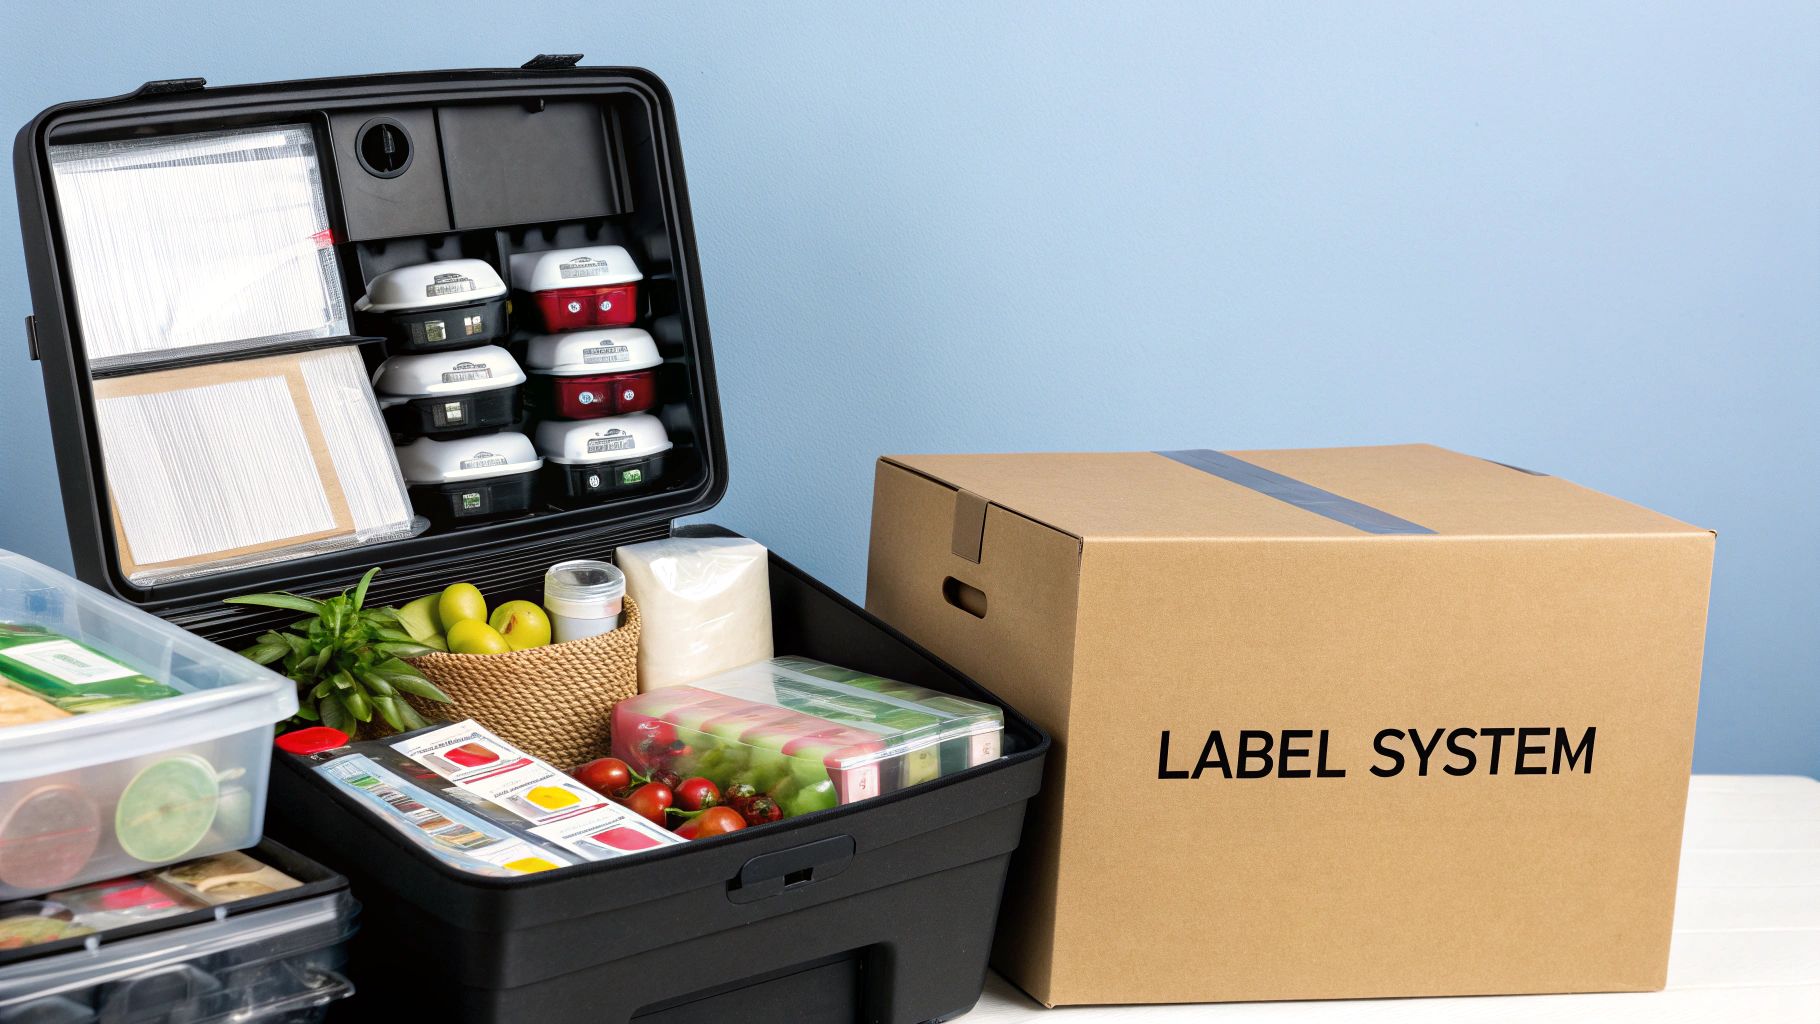
Moving to a new region or interstate is a different ball game that demands a more robust packing strategy. The methods used for a local move simply won't suffice when your belongings travel hundreds or thousands of kilometres over several days.
This is more relevant than ever, with a significant number of Australians swapping capital cities for a regional lifestyle. In a recent quarter, the number of people leaving hubs like Sydney and Melbourne for the regions surged by 10.5%. This trend underscores the importance of packing for longer journeys and increased handling.
Reinforcing Your Boxes for the Long Haul
A long-distance trip subjects your boxes to more vibration, bumps, and shuffling. Reinforcing every box is a non-negotiable step. Your standard taping job isn't going to cut it.
First, invest in high-quality, wide packing tape. Tape along every seam, not just the main one down the middle. For maximum security, use the "H-tape" method: tape down the centre seam, then run tape along both short edges, forming the shape of a capital "H". For heavy boxes, add a few extra strips of tape across the bottom for maximum support.
A common oversight I see in long-distance moves is people underestimating the slow, grinding effect of road vibrations. What seems like minor jostling can weaken box seams and cause chaos inside over a long trip. Properly reinforcing every box is your best defence.
Adding an Extra Layer of Cushioning
When moving regionally or interstate, you need to cushion against constant vibration, not just occasional bumps. This means adding an extra layer of protection to almost everything, especially breakables.
Advanced Cushioning Techniques:
- Double-Box Your Valuables: For irreplaceable items like heirlooms or expensive electronics, place them in a small, well-padded box. Then, put that smaller box inside a larger one, filling all surrounding space with packing peanuts or crumpled paper.
- Create a Padded Base: Before placing any items in a box, line the bottom with a layer of bubble wrap, a folded towel, or a generous amount of packing paper.
- Fill Every Single Gap: Empty space is the enemy of a long-distance move. Voids allow items to shift, rattle, and break. Stuff every nook and cranny with packing paper, old t-shirts, or foam until nothing can move.
Protecting Furniture from Transit Stress
Your furniture will be handled multiple times and secured in a truck for hours or even days. Proper protection is key to avoiding scratches, dings, and other damage. Moving blankets are essential, but you can enhance their effectiveness.
Use stretch wrap to secure moving blankets tightly around timber items like tables and dressers. This holds the padding in place and protects the finish from dust and moisture. For sofas and armchairs, consider specialty plastic furniture covers to shield them from dirt and snags. For a deeper dive into these bigger tasks, have a look at our comprehensive guide for long-distance relocation.
Of course, long-distance moves can bring up all sorts of unique challenges, like moving internationally with pets, which is a whole specialised field of planning on its own. The same principle applies across the board: a little extra preparation goes a very long way. By future-proofing your packing, you give your belongings the best possible chance of arriving in the same condition they left, ready for their new home.
Common Packing Questions Answered
Even with the most solid plan, questions inevitably arise during the packing process. It’s a massive job, and it's completely normal to seek clarity on the finer details. Here are answers to some of the most common questions we hear, helping you navigate the process with confidence.
Think of this as your go-to guide for those "hang on, am I doing this right?" moments. Each answer builds on the key strategies we’ve already covered, helping you sidestep common problems and keep your move on track.
How Far in Advance Should I Start Packing?
The sweet spot is around 4-6 weeks before your moving date. While this might seem like a long time, a slow and steady approach is the secret to avoiding last-minute panic.
Start with items you use the least, such as out-of-season clothes, books, guest room linens, and decorative pieces you won't miss. By chipping away at these non-essentials first, you make significant progress without disrupting your daily life. A great strategy is to dedicate a few hours each weekend to a specific room or cupboard, leaving essentials in your kitchen and bedroom for the final week.
What Are the Most Common Packing Mistakes to Avoid?
Knowing what not to do is just as crucial as knowing what to do. The biggest mistakes are often the simplest to avoid, yet they can cause the most grief and damage on moving day.
Some of the most frequent errors we see include:
- Using weak boxes: Using old, flimsy boxes from a supermarket might seem economical, but they can easily collapse under pressure.
- Overfilling boxes: Cramming a box until it’s bulging makes it too heavy to lift safely and significantly increases the risk of the bottom falling out.
- Forgetting to label properly: An unlabelled box is a mystery. Forgetting to clearly mark the contents and destination room will turn unpacking into a chaotic guessing game.
- Skimping on cushioning: Not using enough packing paper or bubble wrap for fragile items is a surefire recipe for disappointment and broken valuables.
Another classic error is forgetting to pack that all-important 'essentials box' for your first night in the new place. To get the full rundown, you can learn more about the top 10 common packing mistakes when moving home and how to easily sidestep them.
How Do I Safely Pack Fragile Items?
Protecting your fragile items—like glassware, plates, and electronics—requires extra care and attention to detail. For glassware and dishes, the golden rule is to wrap each piece individually in packing paper, then bundle three or four together with another layer of paper.
Critically, you should always place them vertically in a sturdy, well-cushioned box—never lay them flat. Fill every gap with crumpled paper to prevent them from shifting during transit. For electronics, their original boxes are your best friend. If you don't have them, wrap the items securely in bubble wrap, tie up all cables, and place them in a snug-fitting box with padding on all sides. Always label these boxes clearly with "FRAGILE" and "THIS WAY UP."
Is It Better to Use Packing Paper or Bubble Wrap?
The simple answer? You need both. They serve different but equally vital roles in your packing toolkit. Think of them as a team working together to keep your belongings safe.
Packing paper is your everyday workhorse, perfect for wrapping standard items like plates and glasses and for filling empty spaces. Bubble wrap is your specialist protector, reserved for your most delicate and valuable possessions that need superior cushioning against bumps and shocks.
Packing paper is fantastic for providing a base layer of protection and is incredibly versatile. Bubble wrap, on the other hand, offers an unmatched level of cushioning that is essential for items like electronics, mirrors, artwork, and delicate ornaments. A smart packing strategy uses a combination of both to ensure everything arrives at your new home in one piece.
Feeling confident about your packing plan but not so much the move itself? Let the experts at Get n Go Removals Melbourne handle the heavy lifting. With over a decade of experience and a team of full-time, police-checked professionals, we offer a reliable, stress-free moving experience for your home or office. From careful packing services to secure transport, we ensure your belongings are in safe hands. Get a free quote today and make your next move your easiest one yet.